This post is also available in: English (英語)
「評判いいし、Stardew Valleyをやってみたい……けど、ガイド通りにやってるのにmodが入れられない」
「恋愛要素あるし、せっかくなら顔グラをもうちょい可愛くしたい……」
と思ったので、なんとかmodを導入して解決できんもんかと試行錯誤していた。
自分への備忘録も兼ねて、mod導入方法をメモしておくことにする。
なお、Windowsを前提としているので、そこはご容赦願いたい。
*Mod導入は完全な自己責任のもと行ってください。このガイドはあくまでいちプレイヤーによる試行メモであり、動作の保証をするものではありません。*
大前提 Nexus Modsの会員に登録する(無料会員でOK)
まず一番初めに、以下のページからNexus Modsの無料会員に登録しておこう。
Nexus Mods – Mods and Community – Nexus Mods
Nexus ModsはModの総合コミュニティ。一昔前はGithubや他プラットフォームでのMod配布がされていたこともあったが、現在では配布も情報交換もMod人気ランキングの閲覧も、このサイトに一本化されている。
無料会員と有料会員があるが、無料会員でいい。有料会員だとダウンロード時間が短くなるオプションがあるようなのだが、正直無料でも一瞬でダウンロードが終わるので、無料で十分かと。
※注意※SDVMMは既に開発・サポートが終了していて正常に動作しない
過去のMod情報をググって参考にしようとしている新規の方や復帰者の方が一番注意すべきところ。
4,5年前はSDVMMと言う名前のMod管理ツールを使ってMod導入をするのがメジャーだったようなのだが、現在は開発・サポートが終了していて、大半のMod(特に、基幹ModとなるSMAPI)が正常に動作しない。
筆者もひたすらググりながら試行錯誤していたのだが、うまくいかなかった理由はこれだった。
というわけで、SDVMMのことはいったん忘れよう。
よし、忘れたな?
では、改めてModを導入していく。
前提となる基礎Mod二つを導入する
Stardew Valleyの現行Modは、次の二つの基礎Modの導入が前提となっている。
- SMAPI
- Stardrop
どちらもNexus Mods上で入手可能だ。以下で詳しく解説する。
SMAPIを導入する
SMAPIはほぼ全てのModの前提となるModだ。Stardew ValleyのModの動作そのものをコントロールするイメージだと思ってもらえばいい。これがないと、Modそのものが動かない。ということで導入する。
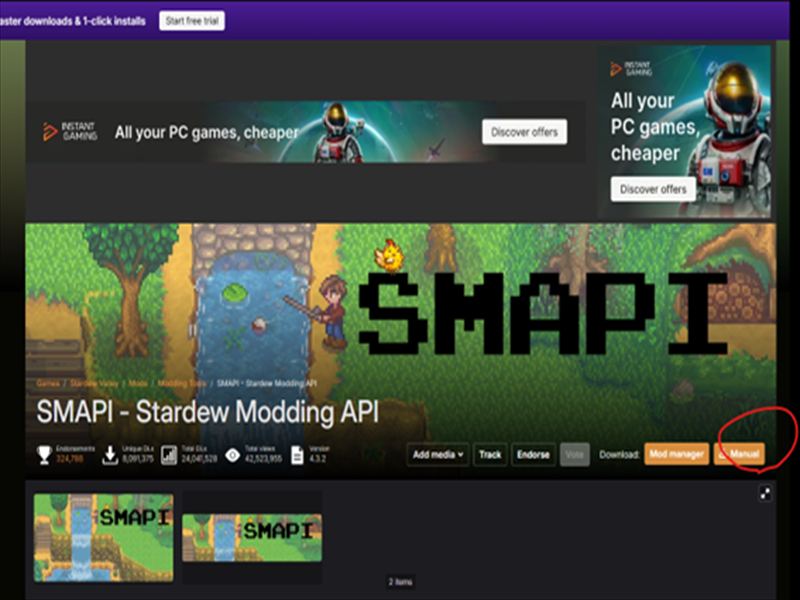
SMAPI – Stardew Modding API at Stardew Valley Nexus – Mods and community
上記リンクからSMAPIのページに飛び、赤丸で囲ったオレンジのボタンの”Manual”をクリック。
無料会員向けの低速ダウンロードとフリートライアルであるがのちのち有料となる高速ダウンロードのどちらにするか聞かれるが、別に無料の低速ダウンロードで全く問題ない。
ダウンロードしたら、適当に管理しやすいフォルダにおいて解凍しよう。
その後、解凍したフォルダ内の SMPAI (バージョン名) installerにある
install on Windows.bat ファイルをダブルクリックするとこんな画面が出る。
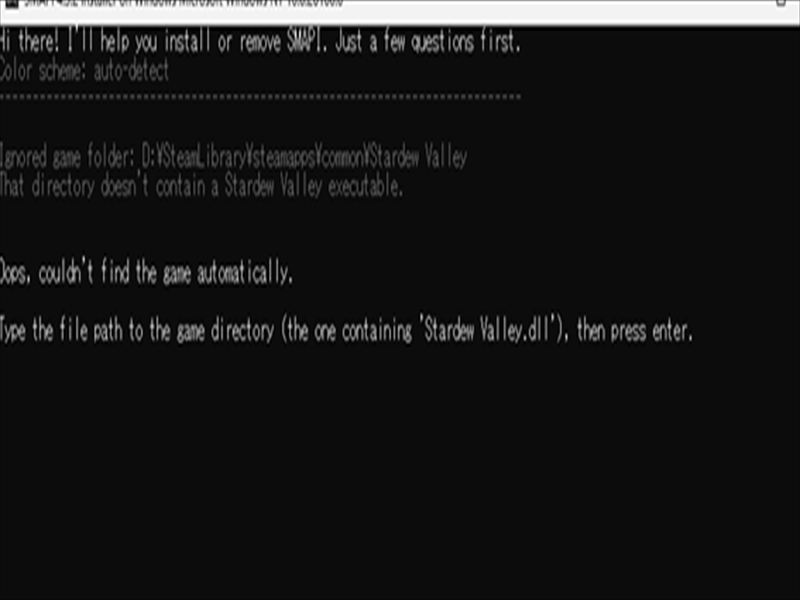
なんか英語でビビるが、要はStardew Valley.dllというファイルのあるパスを聞かれているだけだ。
このdllファイルは、PC上のStardew Valleyをインストールしたフォルダにある。
自分の環境にあったパス名を入力し、エンターキーを押す。
例を挙げると、こんな感じだ。
C:\Program Files (x86)\Steam\steamapps\common\Stardew Valley\
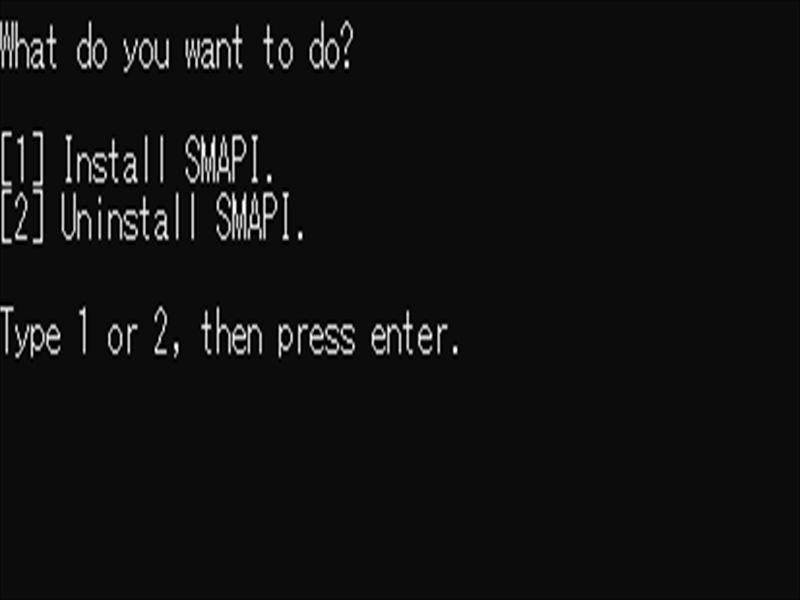
すると、SMAPIをインストールするか、アンインストールするかを聞かれる。
今やりたいのはインストールなので、数字の1を入力してエンターキーを押す。(アンインストールしたいときは数字の2を入力してエンターキーを押す)
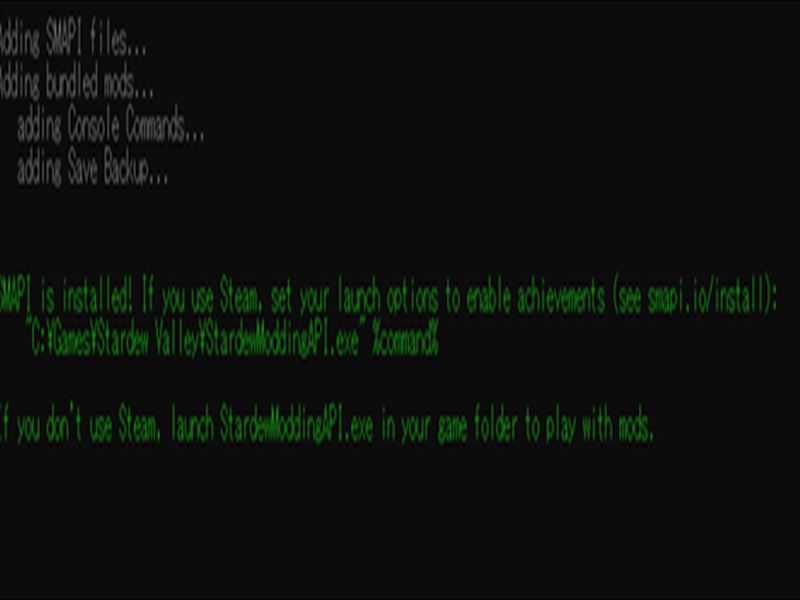
こんな感じで緑色文字で表示されれば、SMAPIは正常に導入完了だ。
次に移ろう。
Stardropを導入する
Stardropとは、SDVMMに代わるMod管理ツールだ。
これもNexus Modsからダウンロードできるのでダウンロードしよう。
以下のリンクから行ける。
Stardrop at Stardew Valley Nexus – Mods and community

ダウンロードが完了したら、展開してStardrop.exeを起動だ。
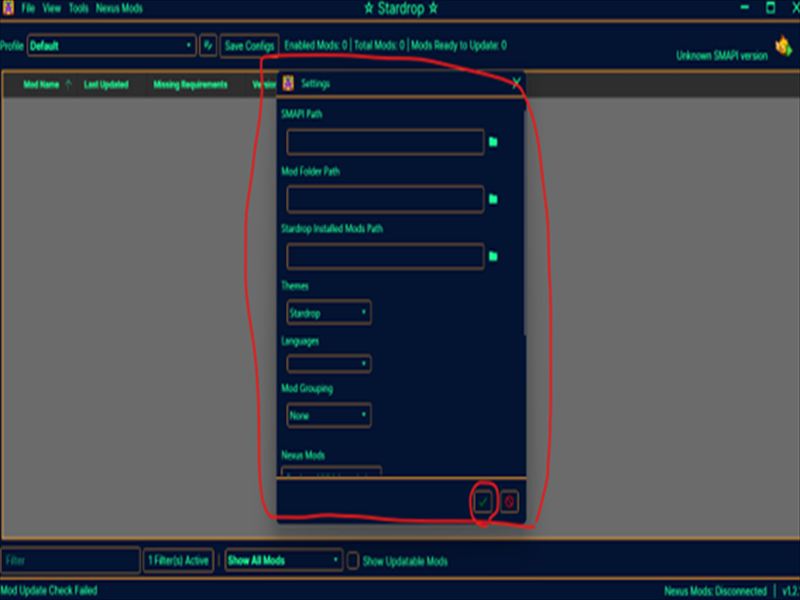
Stardropが起動したら、設定画面が現れる。ファイルパスを三つ入力(後述)して、チェックボタンを押す。海の向こう特有の習慣だが、チェックマークが“イエス”、〇マークが“ノー“を表すのでお間違え無きよう。
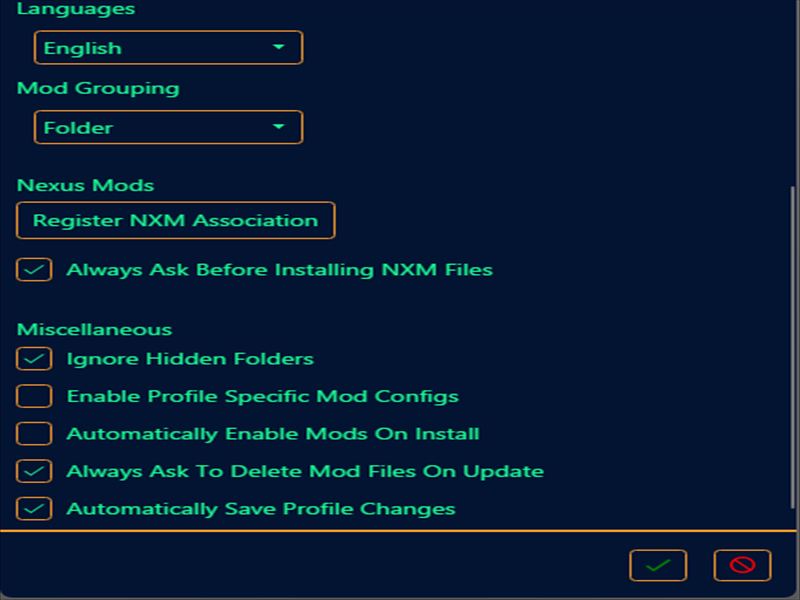
ファイルパス以外の項目はLanguageを”English”にするほかは、とりあえずデフォルトのままでいいかと。ここらはお好みでカスタマイズして欲しい。
Stardropへ三つのファイルパスを入力する
Stardropの設定画面では以下の三つのファイルパスを入力する。
- SMAPI Path
- Mod Folder Path
- Stardrop Installed Mods Path
以下、詳しく見ていこう。
SMAPI Path
StardewModdingAPI.exeのあるフォルダへのパスを入力する。
このガイド通りにやっているなら、Stardew valleyをインストールしたフォルダにある。
入力例:C:\Program Files (x86)\Steam\steamapps\common\Stardew Valley
Mod Folder Path
Stardew Valleyがインストールされた場所に自動的に生成される、Modsという名前のフォルダへのパスを入力する。Mod読み込み・管理用に使われるフォルダだ。
入力例:C:\Program Files (x86)\Steam\steamapps\common\Stardew Valley\Mods
~\Mods まで入力するのを忘れないようにしよう。
Stardrop Installed Mods Path
Stardrop自身が自分でModを保存・整理するためのフォルダ。二つ目に入力したMod Folder PathにあるModsフォルダの配下に、任意の名前のフォルダを作って、そのパスを書けばいい。
一応の注意点として
- フォルダの名前は※必ず※特殊文字の無い半角英数字にし、日本語や全角英数字は使わないこと。
- パスにはフォルダ名まで含めること。例えば、C:\Program Files (x86)\Steam\steamapps\common\Stardew Valley\Mods\Mods_archive など
パスの設定を変更したくなったら
Stardrop上部メニューのViewからSettingsを押せば、再度パス設定画面が開ける。
個別のModを導入していく
基本的な個別Mod導入方法
さあ、ここまでくれば、後は個々のModの導入だ。
今回はこのModを例に解説していく。他のModでも、これと全く同じ手順で導入可能だ。
Content Patcher at Stardew Valley Nexus – Mods and community

諸々の画像差し替えの基盤となる、Content PatcherをNexus Modsからダウンロードする。適当に管理しやすいところに置いておこう。解凍はしなくてよい。ここ、重要です。
StardropはModが未解凍であることを前提に動作するようになっているからだ。
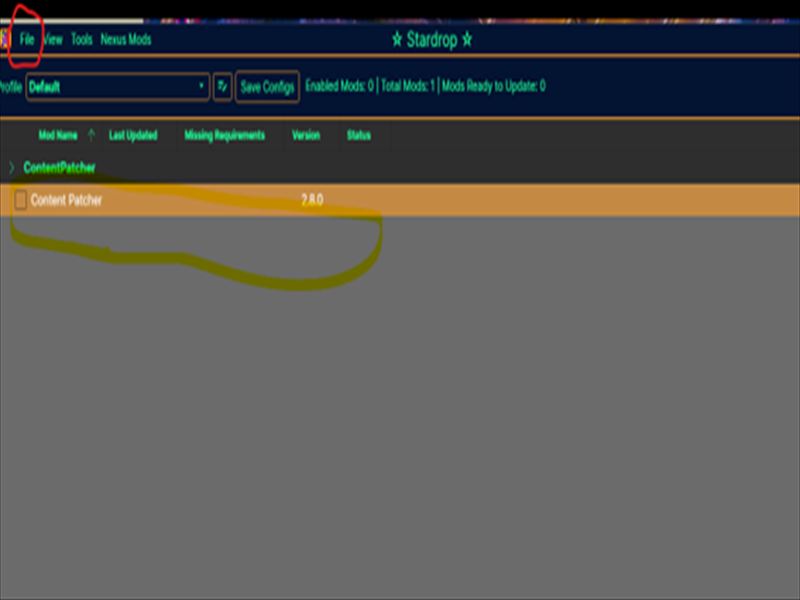
Modをダウンロードしたら、Stardropの画面左上のFileからAdd Modsを選択し、さきほどの未解凍のContent Patcherを選択する。そうすると、画像のようにContent PatcherがStardropのリストに表示される。
そうしたら、Mod名左横のチェックボックスをクリックする。これだけで、個別Modの導入と有効化は完了だ。
他に入れたいModがあったら、全く同じ要領で入れていこう。
顔グラModの導入方法(手動編集)
皆さんお待ちかねの顔グラModについては、先述のContent Patcherで一括管理する……と言いたいのだが、大抵の人気顔グラはContent Patcher未対応なので、手動でファイルを書き換えていくことになる。
「手動」と聞くと大変そうだが、作業そのものは10分かからずに終わる程度なので身構えなくてもいい。
早速やっていこう。
Nexus Modsで”Portrait”で検索して、好みの顔グラを探す
Nexus Modsで”portrait”と検索すると、山ほど顔グラModが出てくるので、好みのものを選ぼう。
Fisharia anime portraits at Stardew Valley Nexus – Mods and community
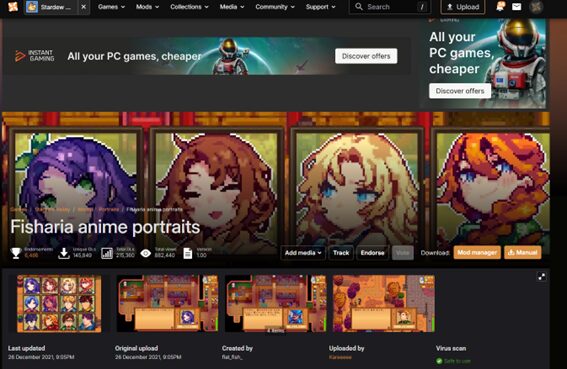
まんまるもちもちで非常に好みなので、俺はこれでいく。
ダウンロードが完了したら、解凍して管理しやすいところに置いておこう。
フォルダをのぞくとxnbファイルがたくさんあるはずだ。このxnbファイルが、Stardew Valley対応の画像ファイルということになる。
xnbファイルを置き換える
作業の前に、Stardew Valleyのインストールフォルダにある、Stardew Valley\Content\Portraitsから元データ全てを*必ず*バックアップし、厳重に保管するすること。いいな?*必ず*だ。
そしたら、さきほど解凍した書き換え先のxnbファイルたちをまるっとStardew Valley\Content\Portraitsへと上書き保存だ。
これだけで、顔グラの変更は完了だ。
Modの入ったゲーム起動はStardrop上から!!

とりあえず、おすすめされることが多くて、導入も簡単そうなModをひととおり入れてみた。
Mod入りの状態で起動するには、Stardropの画面左上のFileからStart SMAPIを押せばゲーム開始だ!!ひゃっほう!!
起動してペリカンタウンを歩いてみた
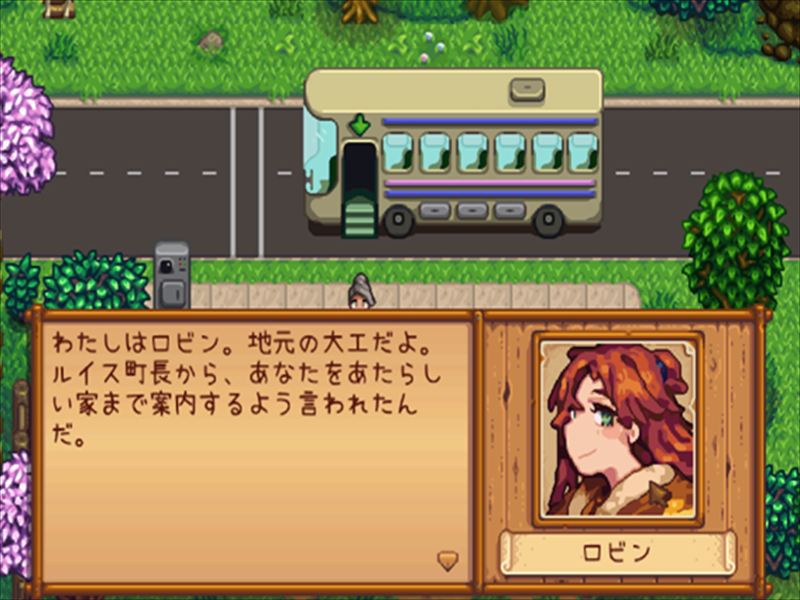
おお!かわええ!!ゲームも問題なく動いてる!
高精細Modも入れてるから、風景も鮮やか!
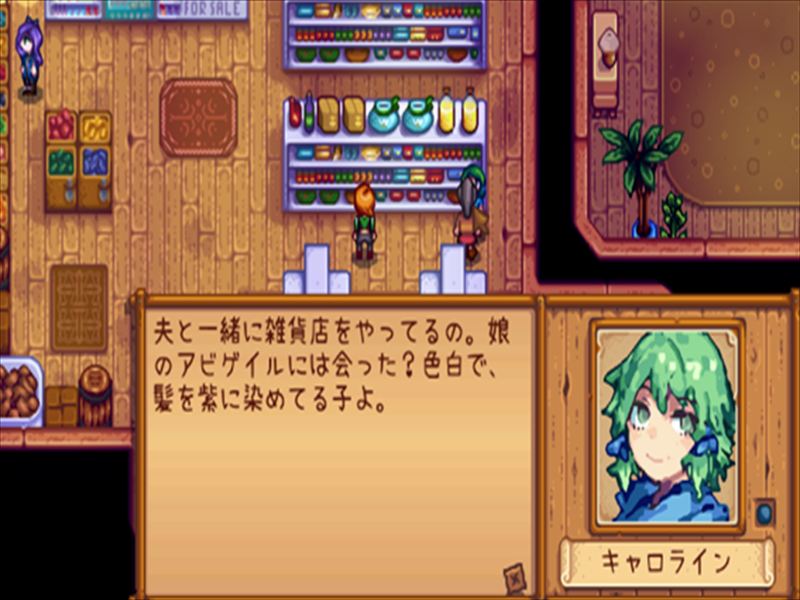
人妻……だと!!
いけません!可愛すぎます!これはいけませんお客様!!困ります困ります!
今のところ、一番の推しキャラ。いや、可愛すぎるだろういくらなんでも……
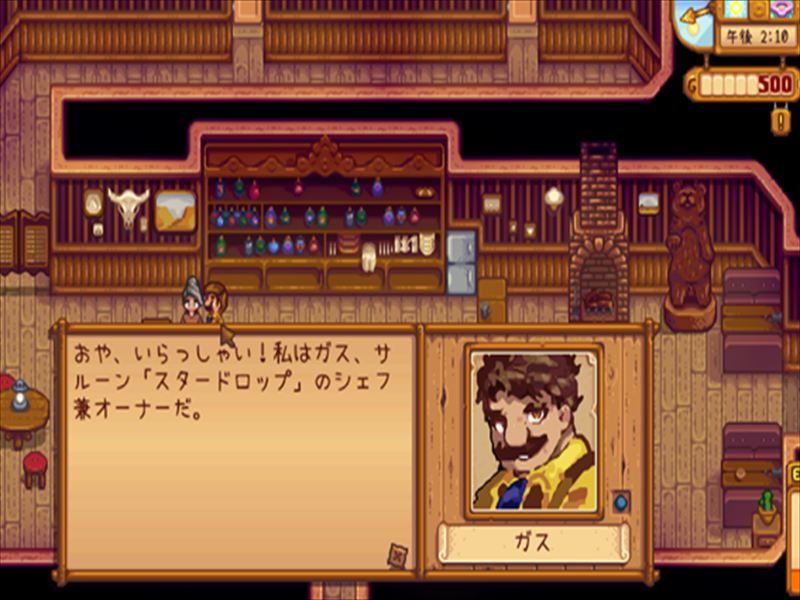
うーん。マンダム。すき。
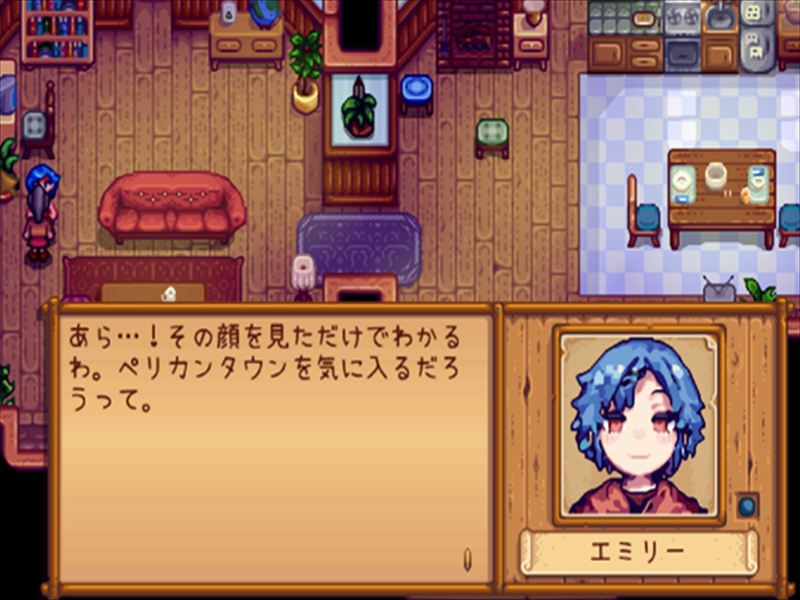
まんまるもちもち!!いいぞぉ!!
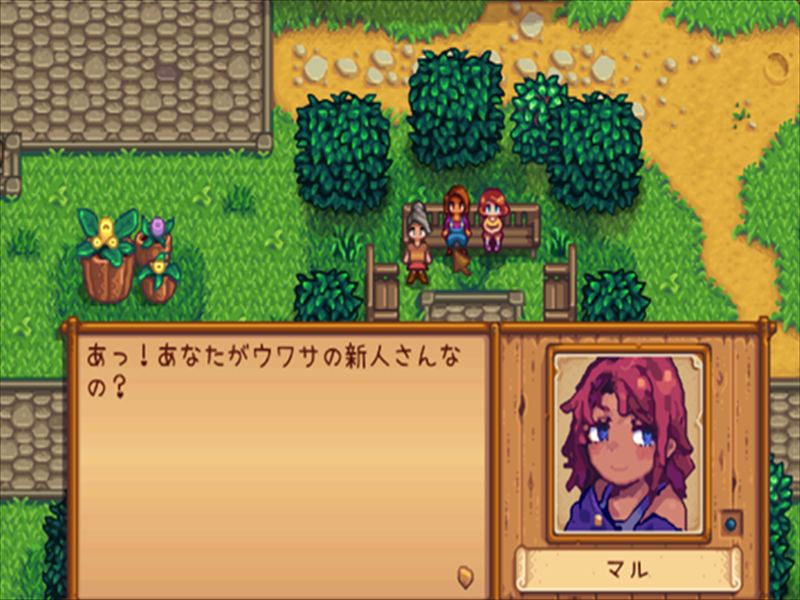
褐色娘!!!素晴らしい!実に健康的だ!!!
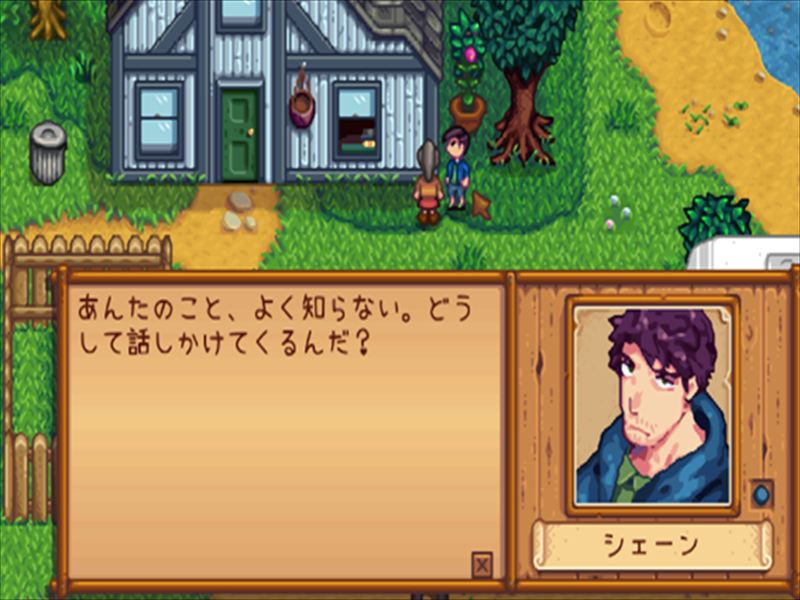
ぶっきらぼうあんちゃんもいて、あらゆる需要を満たしに来る!
まとめ SMAPIとStardropでQOLを上げるのです
というわけで、ざっくりとModの導入手順を解説してみた。
皆さんも、よき牧場ライフを!!
もしよければ、序盤攻略のガイド記事も書いてみたので、お時間のある時にどうぞ。
もし、Stardew Valleyのプレイを通して、
「個人開発のゲームって、案外面白いやん!」
「でも、業界自体がニッチすぎて、どんなゲームがあるか全然分からんのよな……」
と思われた方へ。
当ブログではIndieGame100と題し、「インディーゲームをクリアするまでプレイして、体当たりレビューを100本書く」という企画を進行中です。
みんなもインディー沼に沈もう!!
ではでは、よきゲーマーライフを!!
お読み頂きありがとうございました!