This post is also available in:
“I don’t care what skills and equipment a build guide recommends at level 100—I have no idea how I’m supposed to level my character up enough to get there!!”
“I don’t even understand how to read the screen or what any of these terms mean!”
“Actually, I don’t even know what it is that I don’t understand anymore!!!”
For anyone feeling this way, I decided to use a leveling log for the Warder—a class renowned for its ability to build up wealth from absolutely nothing—to sort out what beginners should pay attention to during the earliest part of the game and what they can safely ignore.
- At the very beginning, you only need to put one point into Primal Strike as your attack skill. Put the rest into the Mastery bar to improve your basic stats.
- For now, equip a two-handed weapon and only pay attention to damage and armor. You can learn about special effects later.
- Put your attribute points into Physique. Raise your Mastery bar to cover equipment requirements.
For reference, I have around 250 hours of playtime.
That said, this is actually my first time properly leveling a Warder, so I am trying something fairly challenging here…
For this project, I deleted all of my cloud and local save data and started playing from a completely clean slate.
This should therefore become a reasonably reproducible leveling log.
With that out of the way, let’s get started.
- Introducing This Build: The Warder
- What to Do Immediately After Starting the Game
- What to Look At When Replacing Equipment
- Allocating Skills and Attributes
- Preparing to Use Primal Strike
- Defeating Enemies with Primal Strike
- Defeating the Quest Boss
- After Defeating the Boss, Examine the Devotion Shrine
- Returning to Town and Sorting Your Loot
- How to Decide What to Keep
- Summary
Introducing This Build: The Warder
Mastery combination: Shaman × Soldier
This is an aggressively straightforward class that swings around two-handed weapons or fires rifles while calling down lightning at the point of impact to wipe out groups of enemies.
Perhaps surprisingly, its defensive capabilities are also excellent. It has an overwhelming amount of health, strong health regeneration, plenty of elemental resistances, and much more, leaving it with very few weaknesses on either offense or defense.
In fact, after experiencing some other classes and then looking at the Warder’s skill selection, it is almost frightening how many of its skills make you think, “I desperately wish my other class had that.”
Its only real blemishes are some mild concerns about Energy efficiency and movement speed.
What to Do Immediately After Starting the Game
Once you begin the game, talk to anyone with a yellow “?” or “!” above their head and accept their quests.
The basic flow of the game is to accept quests, complete them, and then accept new quests.
One common source of confusion is that the language setting can only be changed from “Settings” on the title screen, so keep that in mind.
What to Look At When Replacing Equipment
For roughly the first ten minutes, you will be slowly chipping away at enemies using nothing but normal attacks.
Whenever you pick up new equipment, keep replacing your current gear with it.
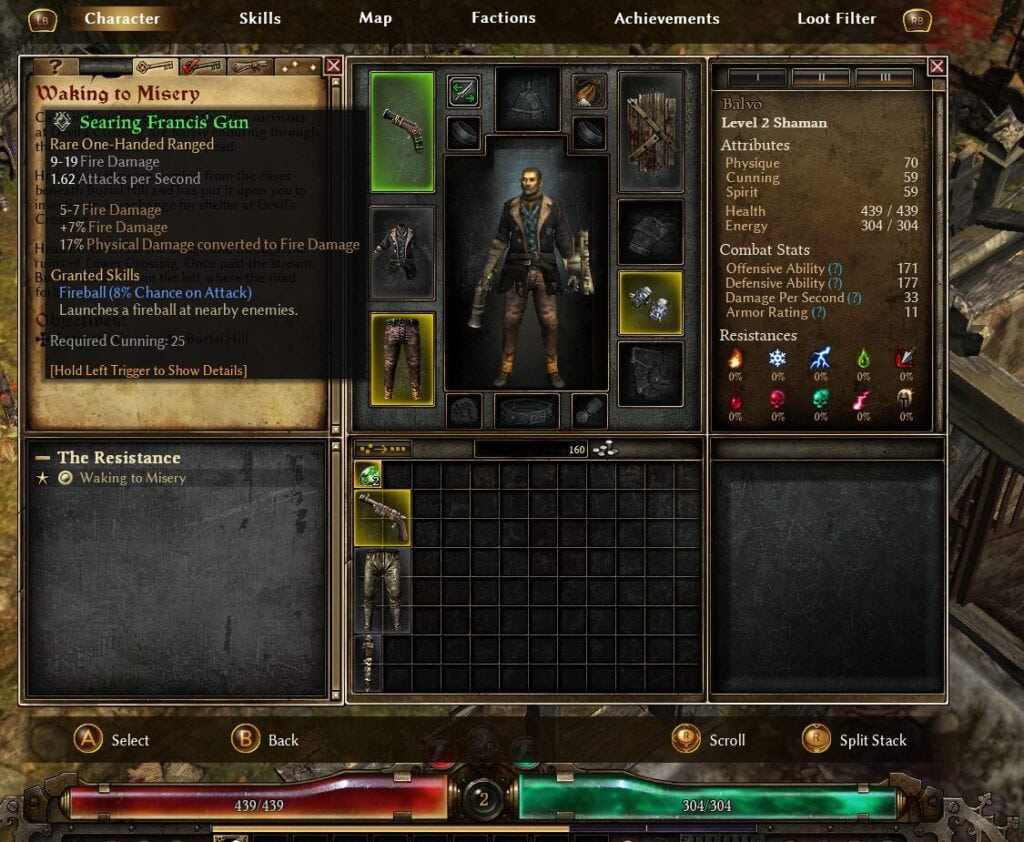
At this point, you will not find much equipment with worthwhile modifiers, so the only things you need to look at are:
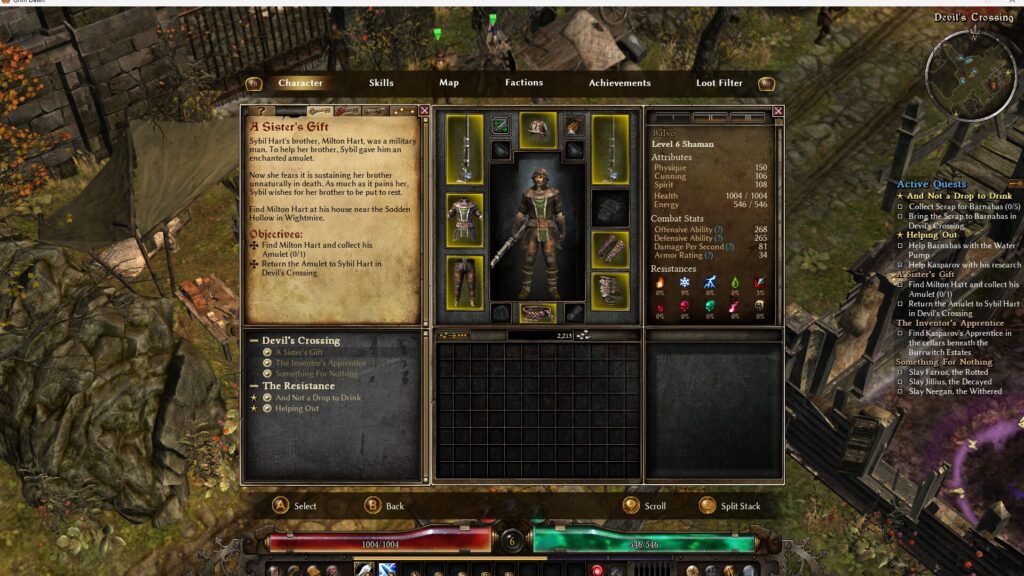
- For weapons, only look at the amount of damage. In the image, this is the part that says “9–19 Fire Damage.”
- For armor, only look at the armor value—in other words, its defensive power.
After that, either drag and drop the item into the appropriate equipment slot or press the Y button on your gamepad to equip it.
During the earliest part of the game in particular, a direct upgrade will drop approximately once every three minutes, so there is no need to worry about the finer details.
By the time you finish agonizing over an item, something better will probably have dropped anyway. The game is not designed to hand you a masterpiece worthy of being your final endgame equipment at this stage.
Treat your equipment as disposable and replace it freely.
Allocating Skills and Attributes
Whenever you level up, you will need to allocate skill points and attribute points.
For this playthrough, the goal is to create a simple and straightforward leveling process that gives even complete beginners as few opportunities as possible to get stuck or make mistakes.
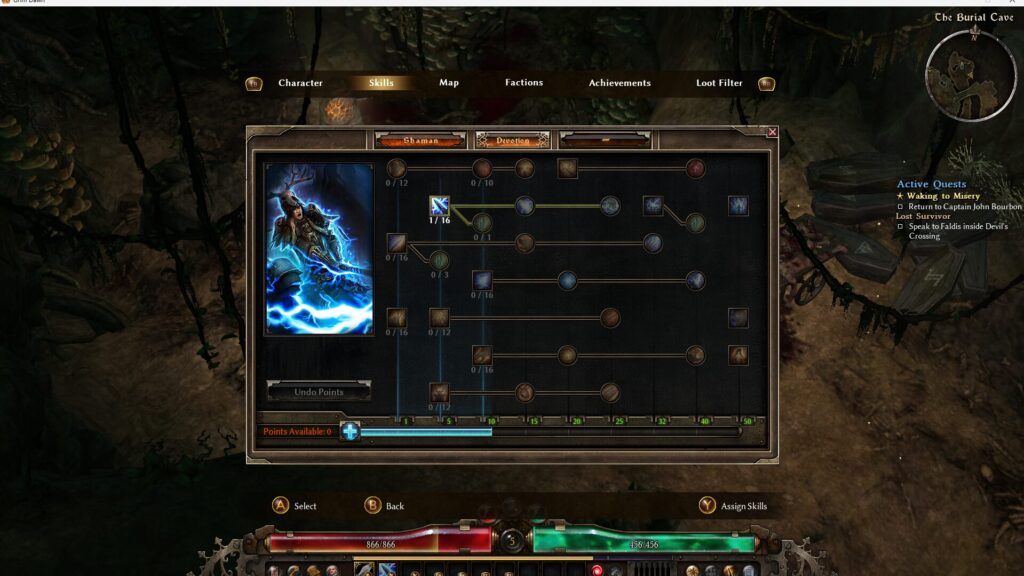
For that reason, at level 2, we will put all three of our skill points into the Shaman Mastery bar.
Move to the appropriate tab on the character sheet and allocate your skill points.
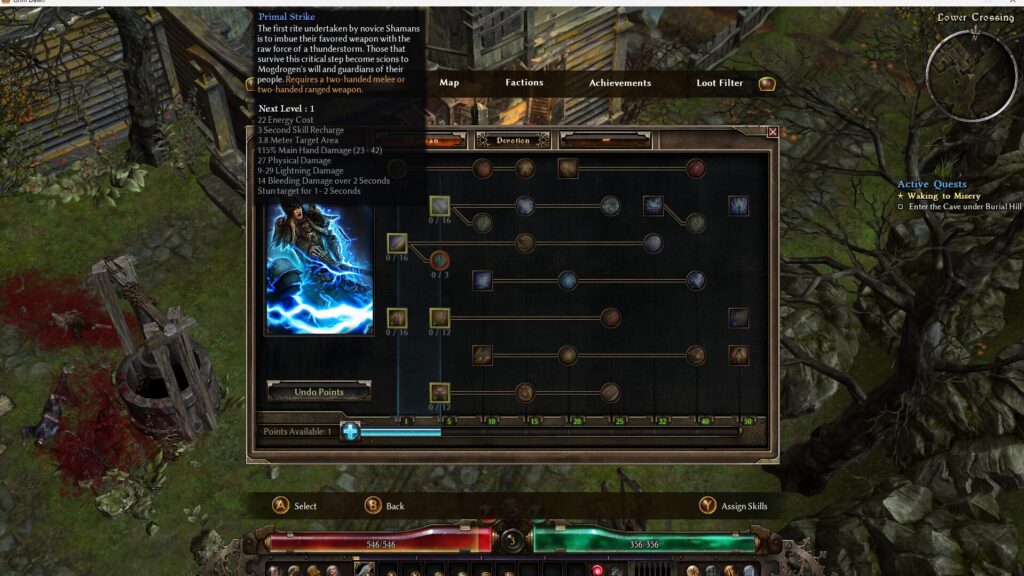
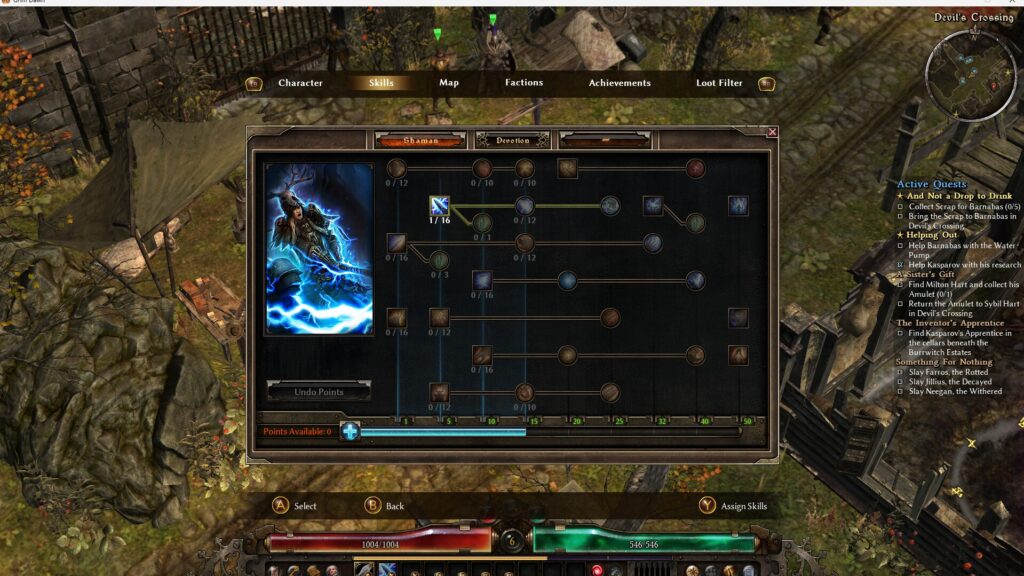
You can raise your Shaman Mastery by pressing the light-blue “+” button shown in the image. Raising the Mastery bar gradually unlocks new skills while also steadily increasing all of your basic stats.
You will not have any particular attack skills yet, but ordinary enemies can be defeated with normal attacks during the earliest part of the game.
Do not worry too much about it.
When you reach level 3, put points into the Shaman Mastery bar until it reaches 5, and then learn Primal Strike, which will be our main damage skill.
In this leveling log, I continue putting points exclusively into the Shaman Mastery bar until level 6.
That is because even at skill level 1, Primal Strike provides far more than enough single-target damage and area-clearing power.
You can increase your attributes by pressing the square containing the yellow “+” symbol beside the Attributes section in the upper-right corner of the character sheet.
The only attribute you should improve is Physique.
It increases your maximum health while also helping you meet the requirements for heavy armor, making your character considerably tougher.
Technically, raising Cunning improves your chance to hit and your critical-hit chance, while raising Spirit increases your Energy—effectively your MP—and your elemental damage.
Those benefits do exist, but honestly, their increases are small compared with the additional health provided by Physique, making them relatively poor investments.
One important warning is that, in Grim Dawn, resetting your attribute points requires purchasing DLC.
Without DLC, there is no way to reset them at all, so be careful.
That said, allocating two or three points incorrectly is not going to completely destroy your build, so there is no need to panic and think:
“I put my points in the wrong place, so now I have to delete my character and start over!!”
Preparing to Use Primal Strike
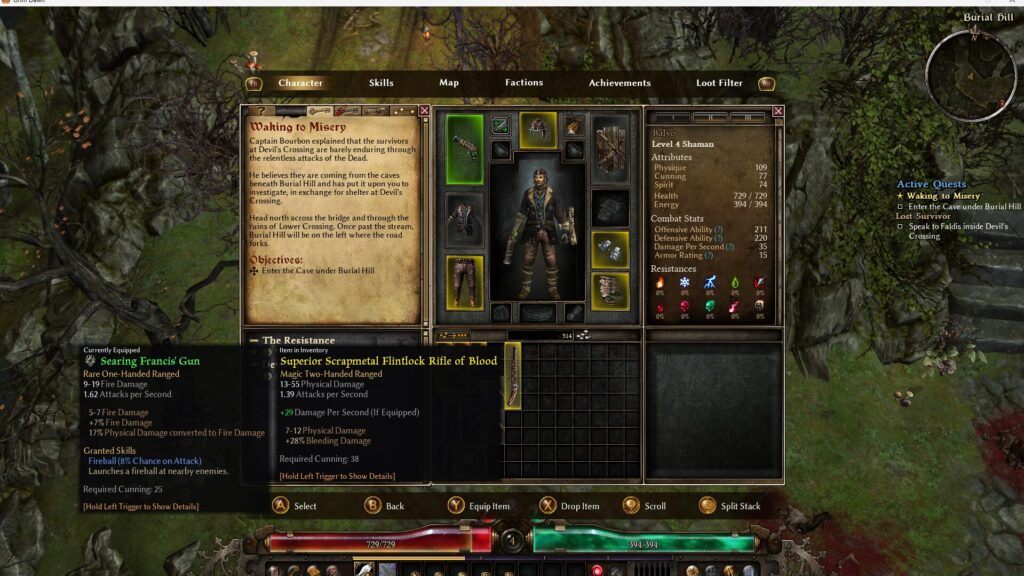
Primal Strike will be our main damage skill, but it cannot be activated unless you have a two-handed weapon equipped.
The first two-handed weapon you obtain will probably be a rifle, so equip the rifle and start firing Primal Strike.
Be careful: you cannot use Primal Strike with a one-handed pistol!!
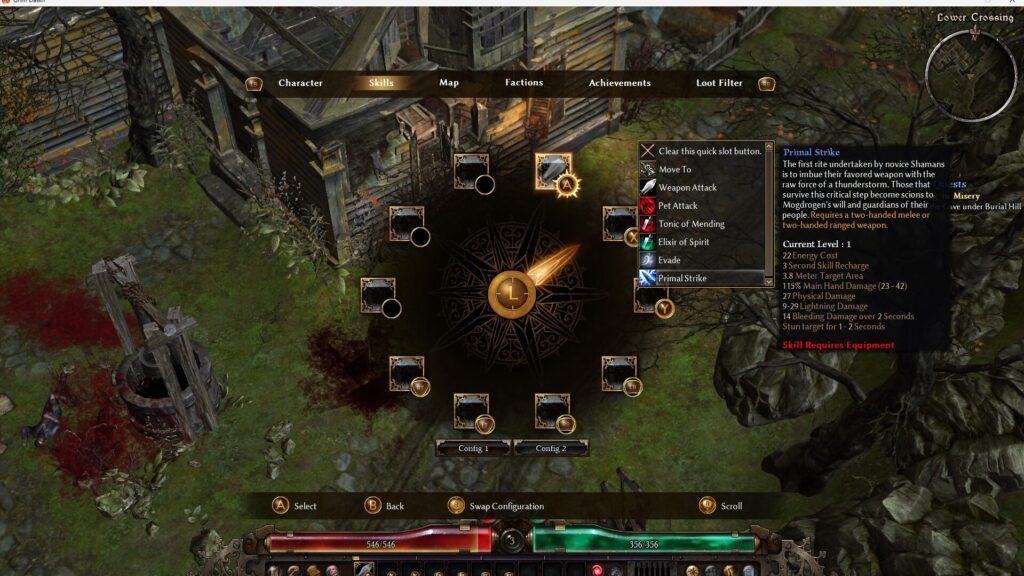
The game does not explain this, which can be rather confusing, but pressing the Y button on your gamepad while on the skill screen will take you to the skill-assignment screen shown in the image.
Select any button other than the one assigned to your normal attack and assign Primal Strike to it.
If you overwrite your normal attack with Primal Strike, you will become completely useless while the skill is on cooldown, which is a rather miserable experience.
There is no penalty for reassigning skills, so should you accidentally remove your normal attack, do not panic. Simply assign the normal attack again.
Defeating Enemies with Primal Strike
Now it is finally time for Primal Strike.
As shown in the video, firing Primal Strike calls down lightning around the point of impact, producing a powerful area attack.
At this stage, the skill has a fairly long cooldown, so you cannot fire it repeatedly.
Launch one shot into a group of enemies, then finish off any survivors with normal attacks.
Defeating the Quest Boss
The entrance to the quest dungeon is marked with a star, and the boss inside is also displayed with a star marker.
Enter the dungeon and proceed a short distance to begin your first boss battle!
This boss throws green fireballs at you.
The fireballs themselves do not deal very much damage, but they create damaging ground effects at their points of impact.
If you stand still, your health will gradually be drained away, so keep moving while steadily wearing the boss down.
One thing worth remembering is that pressing right on the gamepad’s directional pad uses a Health Potion, while pressing left uses an Energy Potion.
Potions do not have a limited number of uses. Once their cooldowns have expired, both types can be used again as many times as you like.
There is absolutely no need to conserve them, so use them freely.
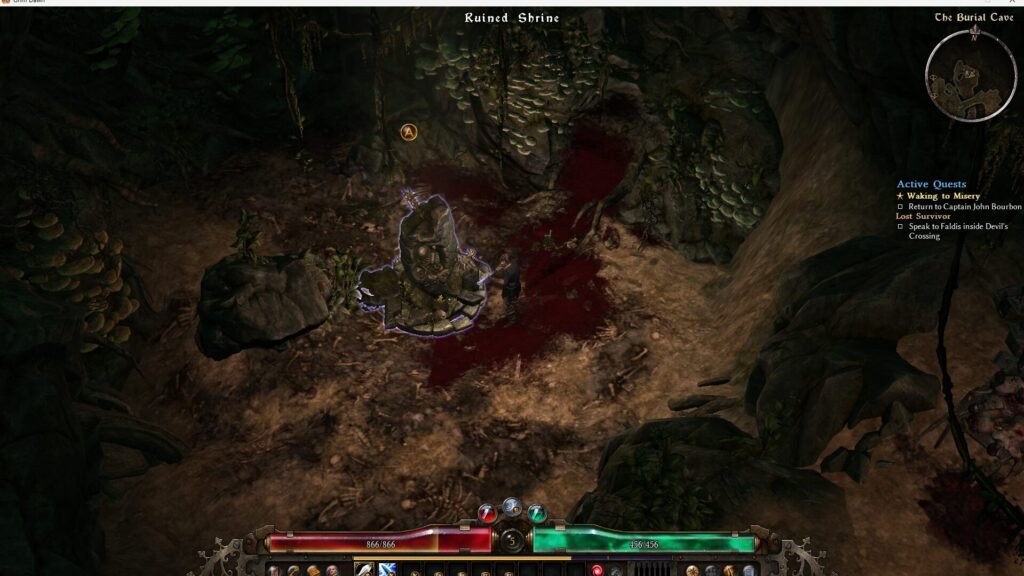
After Defeating the Boss, Examine the Devotion Shrine
After defeating the boss, attack the orb that appears to make a large amount of boss loot burst out.
This provides an excellent opportunity to replace several pieces of equipment at once.
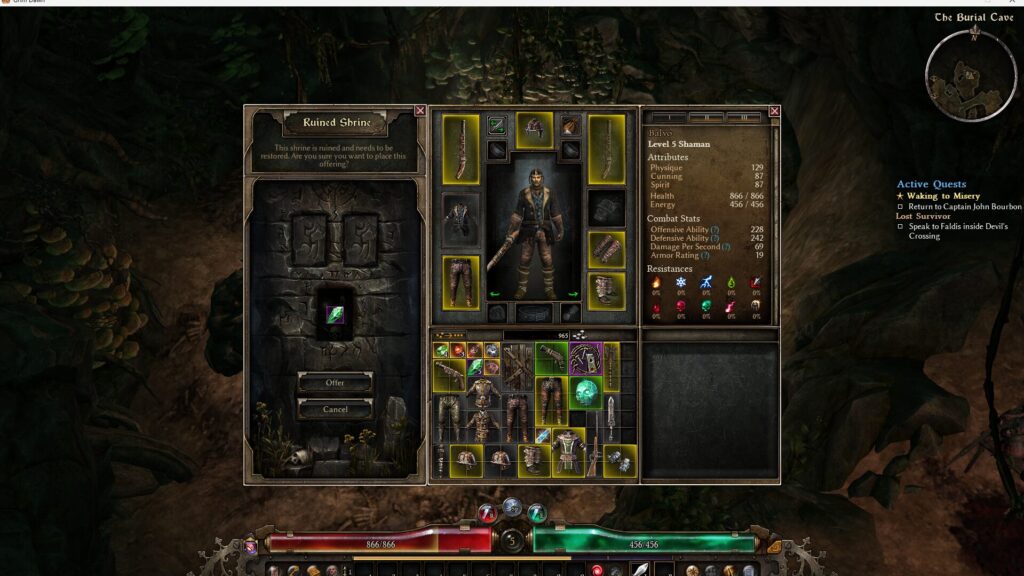
Afterward, head upward from the boss’s location to find a Devotion Shrine.
By offering the requested item, you can obtain a Devotion point, along with various items.
Devotion points are a character-development system that influences your build just as much as skill points do.
Unfortunately, the system is needlessly complicated, so I expect it will be extremely confusing the first time you see it.
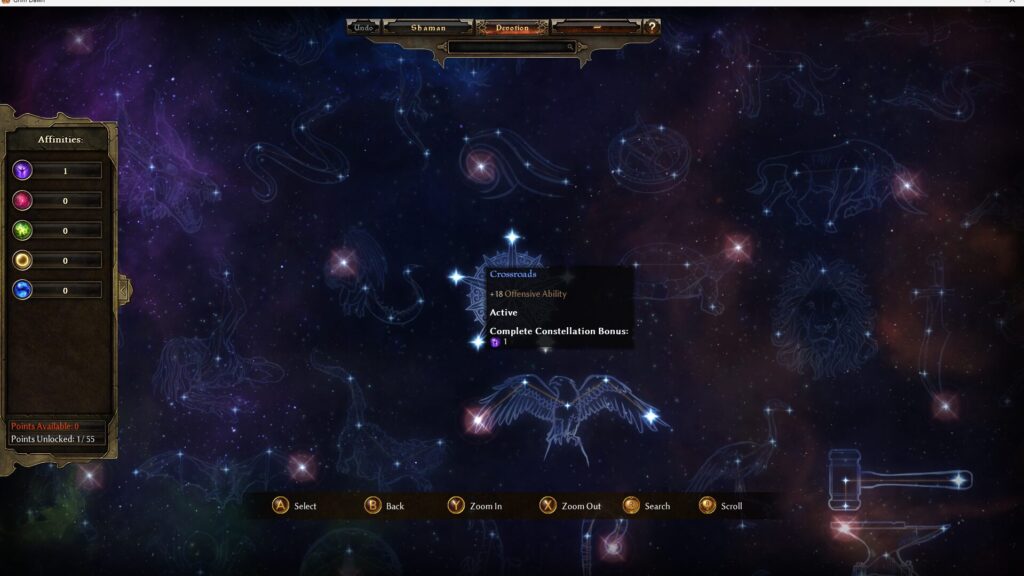
Either click the more deeply nested Devotion tab within the skill screen or select it using the L and R buttons to open the Devotion-point allocation screen.
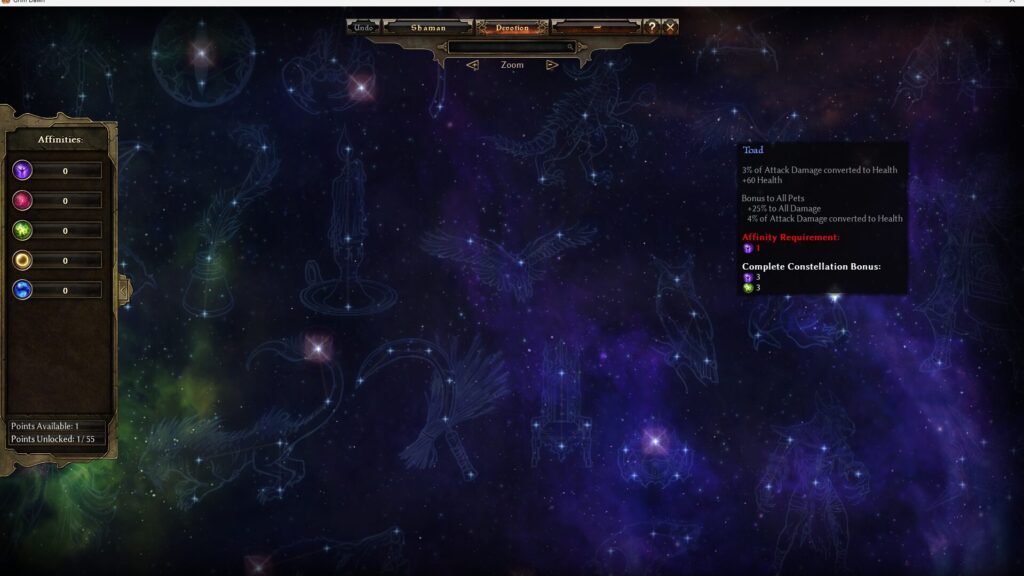
You will see a huge number of unfamiliar constellations. On the left side, there are also several icon-like symbols accompanied by numbers.
Your brain may refuse to process any of this, but that is perfectly normal.
You have done nothing wrong.
Honestly, when it comes to understanding the relationship between Devotion points and constellations, it is faster to follow a guide and become accustomed to the system through practice than it is to read the same explanation over and over again.
For now, click the section labeled “Crossroads: +18 Offensive Ability” among the star-shaped nodes in the center.
You will spend one Devotion point and strengthen your character.
Devotion points can be reset by paying money and materials, so do not be overly cautious.
Just start developing your character.
Returning to Town and Sorting Your Loot
Now, let’s return to town and organize our treasure.
To return to town, you simply need to select the town’s Riftgate from the map screen…
However, the relevant interface element is placed somewhere that can be difficult to notice during your first playthrough.
First, open the “Map” tab on the character sheet.
Next, press the “Local Map” button at the bottom of the window. This will display the world map.
You may have no idea what I am talking about, but you can think of it as the button that switches from your current local map to the world map.
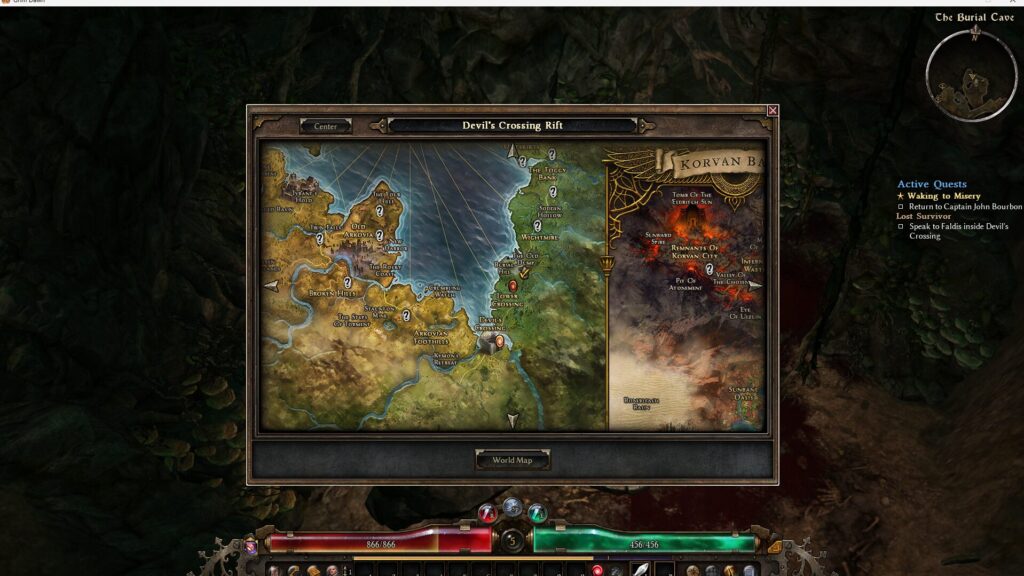
Once you have opened the world map, press the red circle labeled “Devil’s Crossing” in the center of the screen to teleport back to town instantly.
After arriving, report the completed quest to the town’s leader.
This will unlock numerous quests from the people living in town.
These quests are extremely important. Some are required to advance the story, while others reward you by expanding your inventory space.
Accept every quest you can find.
There are no particular disadvantages to accepting quests, so go ahead and accept them with reckless abandon.
Of all the facilities in town, the one you will use most frequently—and perhaps the most important—is the storage chest in the upper-left corner of town.
You can place items inside it to keep them organized.
Item storage is a fundamental feature of loot-based action RPGs, so use it to sort out your belongings.
How to Decide What to Keep
Honestly, there are very few things worth storing at this point.
Keep your Scrap and Components, and sell everything else.
Scrap Is a Universal Material
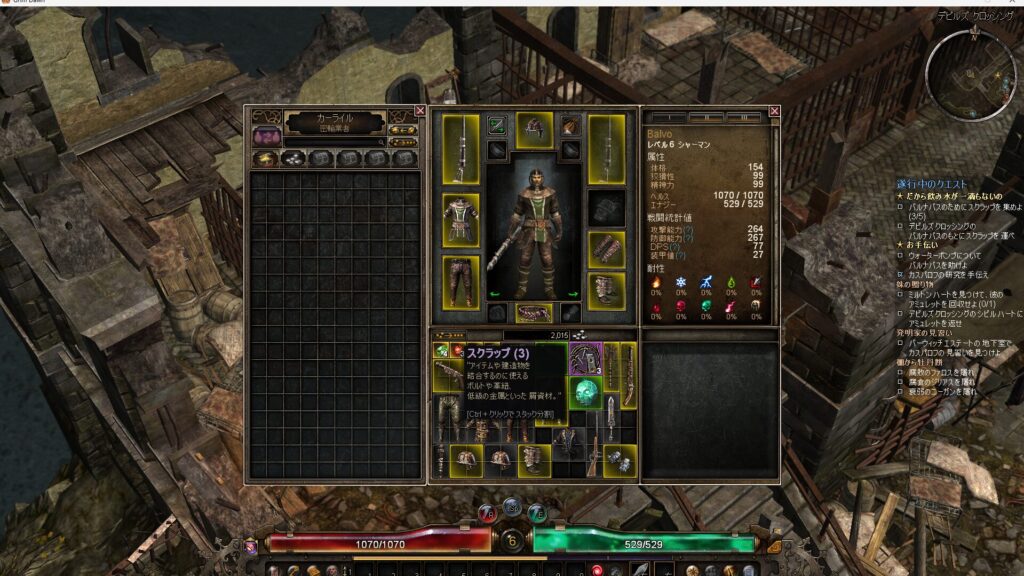
Scrap is the universal material of Grim Dawn’s world.
Whatever you do, do not accidentally sell it.
Scrap is consumed to progress certain events and is also used to craft powerful equipment.
Despite its unimpressive name, it plays an extremely important role, so store it somewhere safe.
Components Are Essential for Improving Equipment
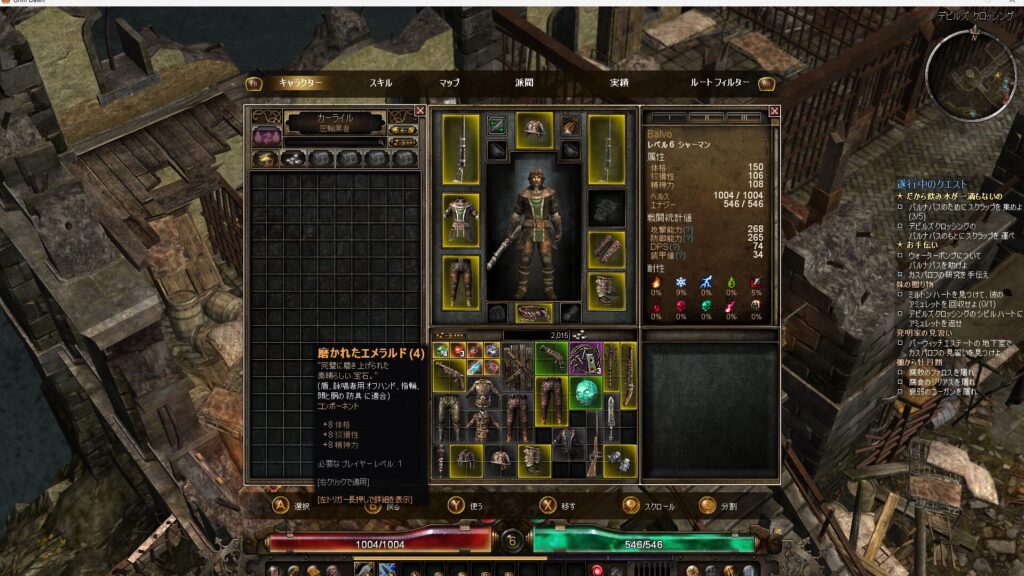
Components are, in simple terms, materials used to improve equipment.
They can provide additional damage, improve elemental resistances, add effects that restore health when you attack, and much more.
They play an essential role in strengthening your equipment.
As an experiment, let’s use a Cracked Lodestone on the strongest rifle currently in our possession.
When using a gamepad, press the Y button to use it.
Grim Dawn, Components
Move the cursor over the rifle you want to use it on, then press the confirm button.
This adds extra Lightning damage to the rifle and also provides a percentage-based increase to the amount of Lightning damage you deal.
Components drop fairly frequently, and you will not need enormous quantities of them until around the middle of the leveling process.
For now, should you want to avoid wasting anything valuable, make sure to store any Components labeled “Rare.”
You can use most of the others without thinking too hard about it and probably will not regret doing so.
Summary
That concludes this leveling log covering the first hour of Grim Dawn.
Let’s review what we learned.
- At the very beginning, you only need to put one point into Primal Strike as your attack skill. Put the rest into the Mastery bar to improve your basic stats.
- For now, equip a two-handed weapon and only pay attention to damage and armor. You can learn about special effects later.
- Put your attribute points into Physique. Raise your Mastery bar to cover equipment requirements.
Grim Dawn is a game with an overwhelming amount of information, so you do not need to learn everything at once.
Take your time and learn it gradually.
With that said, have a great gaming life!!
Thank you very much for reading to the end!!
On X, I post about the process of writing articles and the progress of the game I am currently developing.
I am about 1.5 times noisier there than I am on this blog.
According to our own measurements, anyway.
