This post is also available in:
In this guide, I’ll show you how to use everyone’s favorite Grim Dawn Tools Checklist to efficiently track down any Devotion Shrines, quests, One-Shot Chests, and other important content you may have missed.
What Is Grim Dawn Tools, and Where Do I Start?
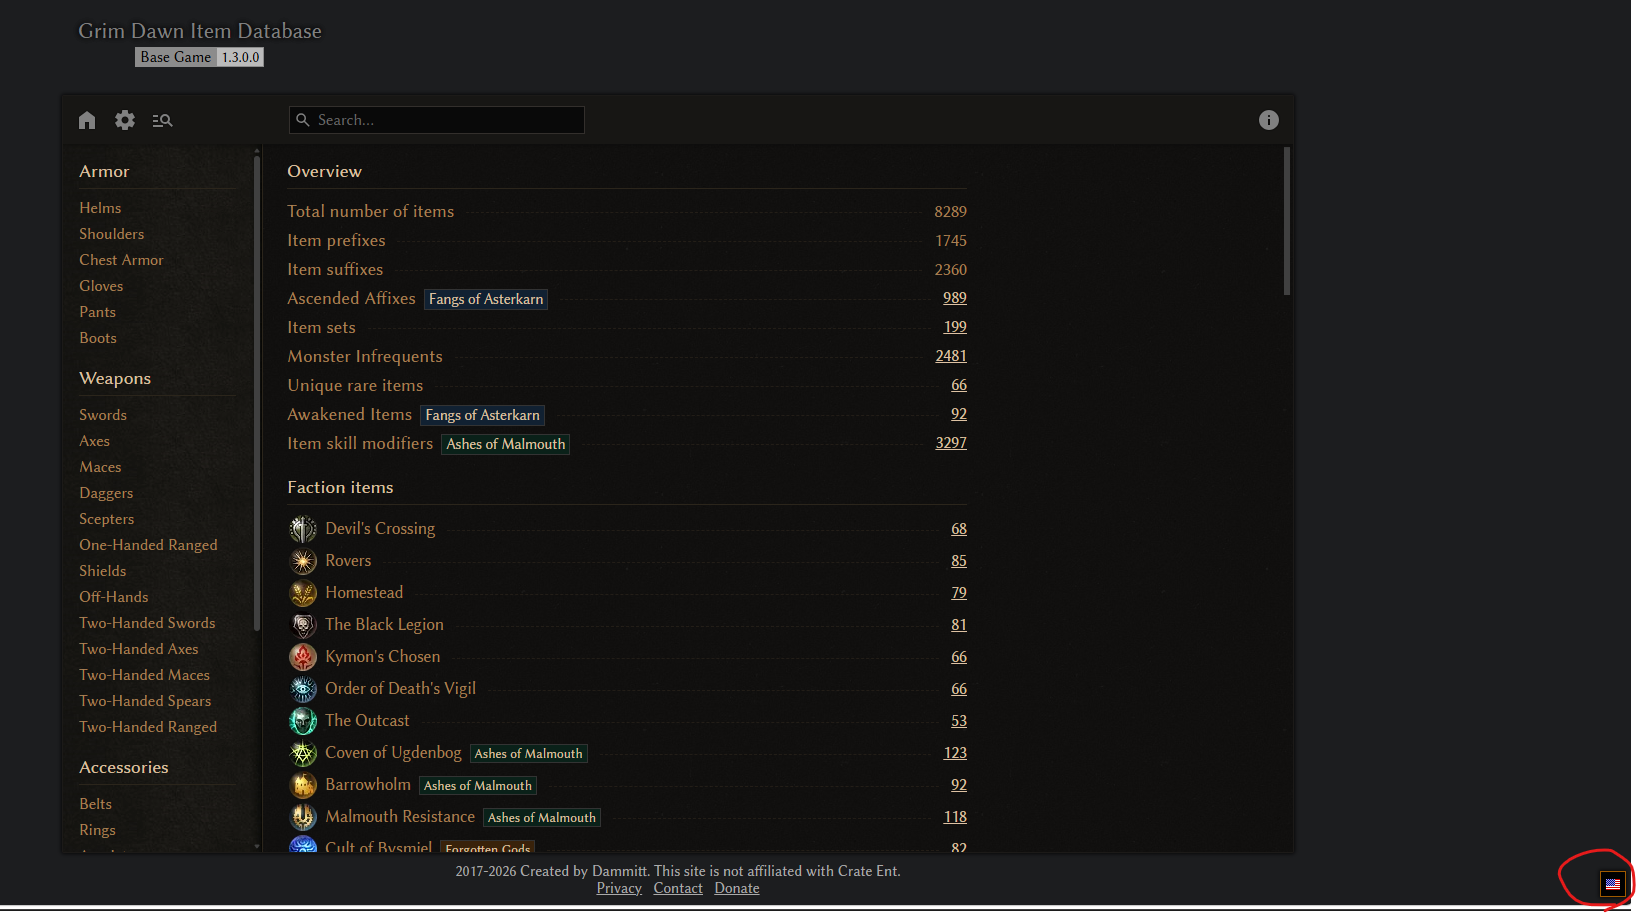
Grim Dawn Tools is a database website packed with information about Grim Dawn.
Despite the word “Tools” in its name, you don’t need to create an account or download an app. It is completely free to use directly in your browser.
The interface supports multiple languages, so you can also use the site in whichever available language you prefer.
Once you open the website, head to the Checklist page.
That is the main feature we will be covering in this guide.
As shown by the red circle in the screenshot above, there is a tiny flag icon tucked away in the bottom-right corner of the screen.
Click it and select your preferred language before getting started.
Checking Devotion Shrines with the Checklist
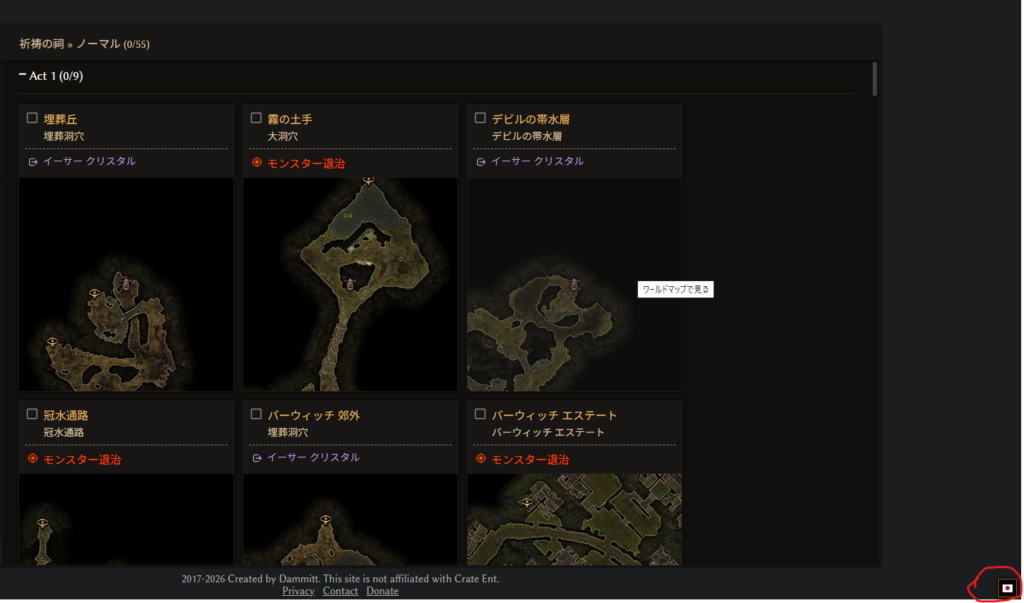
Select Devotion Shrines > Difficulty from the sidebar on the left side of the screen.
This will display the Devotion Shrines available on each difficulty, complete with map images.
You can tick the checkboxes to keep track of which shrines you have already restored and which ones you are still missing.
When you are unsure where a shrine is located, click its map image.
A more detailed map will then appear.
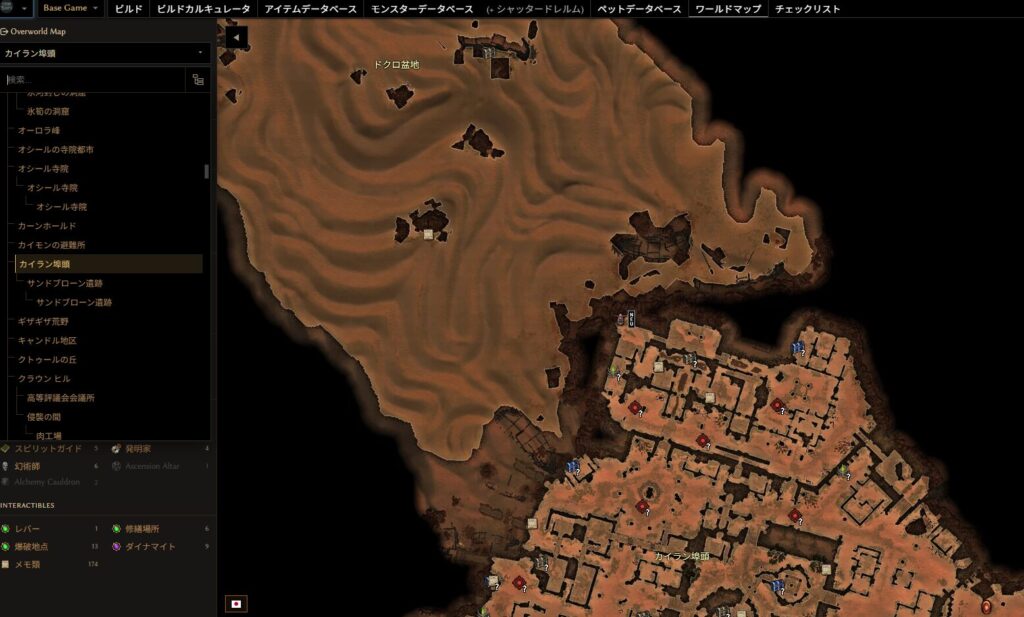
If you click the triangular icon in the top-left corner of the map, a menu will open that allows you to toggle the map legend, symbols, and other display options.
The location list at the top of this menu is organized into a hierarchy.
This can help you understand how different areas are connected—for example, which larger region the dungeon you are currently viewing belongs to.
Checking Lore Notes with the Checklist
From the Lore Notes section on the main Checklist page, you can see where the game’s various lore documents can be found.
You can also mark each note as collected, making it much easier to track down any pieces of Grim Dawn’s worldbuilding that you may have missed.
Checking Blueprints with the Checklist
The Blueprints section does more than simply provide a list of available blueprints.
It also shows which factions or merchants sell each blueprint.
For faction blueprints, the checklist tells you how high your reputation must be before the item becomes available for purchase.
You can also tick off the blueprints you have already obtained, allowing you to manage your collection without having to rely on memory.
Checking One-Shot Chests with the Checklist
Open the One-Shot Chests section to view the locations of special chests that can only be opened once per difficulty.
The checklist also lets you track which chests you have already opened and which ones are still waiting to be looted.
Checking Attribute and Skill Point Quests
The Important Quests section contains a list of quests that reward permanent Attribute Points or Skill Points.
You can use the checkboxes to keep track of which of these quests you have completed on the current character.
Since these rewards permanently strengthen your character, this is especially useful when reviewing an older character or preparing to move on to the next difficulty.
Final Thoughts
And that wraps up this guide to using the Checklist feature in Grim Dawn Tools!
Hopefully, it will help you recover any missed shrines, quests, blueprints, lore notes, and treasure chests during your adventures.
May it serve you well in your pure, intense, and thoroughly Taken-over life.
Until next time, enjoy your gaming life!
Thank you very much for reading all the way to the end!!!