This post is also available in:
Yo!! Somebody’s hijacked my body!
With the new DLC finally here—and that Berserker thing showing up—I’m getting seriously fired up!!
So today, I’m going to explain how to use the Item Database in Grim Tools, using an actual gear-farming example from one of my own characters.
What Is Grim Tools, Anyway? Go On, Tell Me!!
Grim Tools is a database website containing an enormous amount of information about Grim Dawn.
Despite having “Tools” in its name, you do not need to create an account or download an application. It is completely free to use.
The interface also supports multiple languages, including Japanese.
Once you open Grim Tools, head over to the Item Database page.
That is the main feature we will be covering in this article.
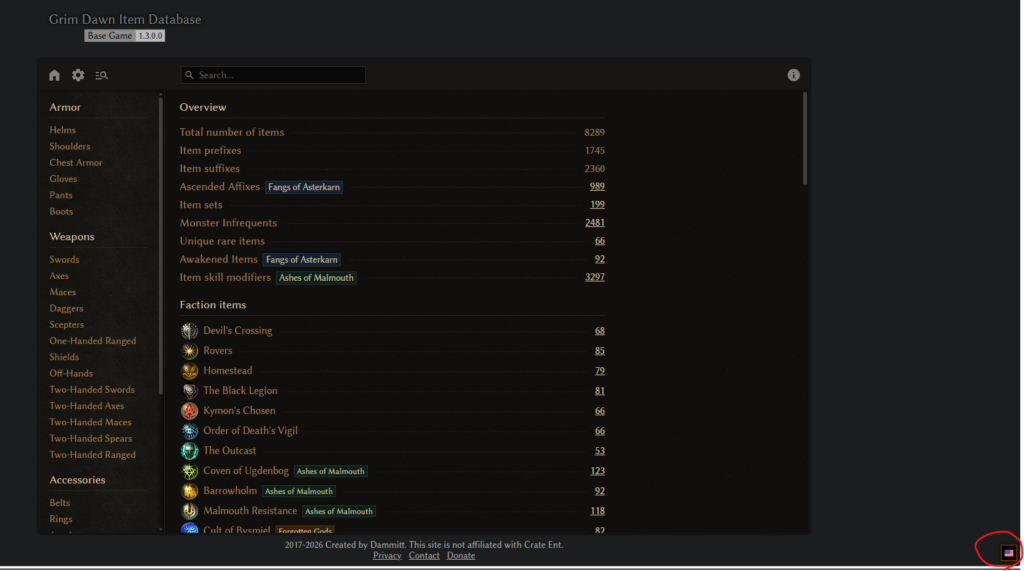
As shown by the red circle in the screenshot above, there is a tiny flag icon tucked away in the bottom-right corner of the screen.
Click it and select your preferred language.
The Basics of Using the Item Database
If you only want to browse the database, the basic controls are fairly simple.
Select an equipment slot or material category from the sidebar on the left, and the corresponding items will appear in a list.
From the center of the main page, you can also browse complete item sets and the inventories of faction vendors.
The search box at the top of the screen allows you to search for specific item names.
However, after reading this far, you may be wondering:
“How am I supposed to make sense of this enormous amount of information when planning a build?”
Or:
“How do I actually use this database after deciding on a build and moving on to farming the necessary equipment?”
In this article, I will use one of my own characters as an example. We will search for suitable items and then work out exactly where and how to obtain them.
Step 1: Figure Out What You Need
For this example, we will use the Warder—Shaman combined with Soldier—that I am currently leveling.
Until now, this character has primarily used lightning damage through Primal Strike.
Unfortunately, the visual effects are so flashy that they have started making my eyes feel like they are being attacked directly.
Because of that, I am considering rebuilding the character as a much less flashy—and therefore much more eye-friendly—physical damage build.
My current skill candidate is Cadence.
Why?
Because it looks simple, easy on the eyes, and pretty damn strong.
That means I am looking for equipment that meets the following conditions:
- Strengthens Cadence
- Is a two-handed weapon, if the item is a weapon
- Is relatively easy to obtain
- Provides bonuses to physical and internal trauma damage
- Can be equipped by my character at level 73
Now that we know what we need, we can start searching.
Step 2: Search for Items That Meet Your Requirements
First, let us look for equipment that strengthens Cadence.
This part is easy.
Simply enter “Cadence” into the search box, and the database will display a list of items that modify or improve Cadence.
Apart from labels such as MI and Faction, the information is displayed in almost the same way as it appears in the game itself.
As an additional tip, you can also search for mastery names such as “Soldier” or “Shaman.”
Doing so will display items that increase the levels of multiple skills—or even all skills—within that mastery.
Step 3: Limit the Results to Rare Items
This is an extremely important step.
While viewing the search results, click the rarity filters for the following item types to disable them:
- Common
- Magic
- Epic
- Legendary
This leaves you with only Rare items.
Epic and Legendary items are certainly powerful, but obtaining a specific one usually involves a considerable amount of luck.
Rare items are different.
Rare items marked as MI, or Monster Infrequent, can be farmed relatively easily by repeatedly killing the specific monster that drops them.
Items marked as Faction can be purchased directly from a faction vendor once you have raised your reputation with that faction.
In both cases, you can obtain the item you want within a relatively short time by putting in a little focused effort.
For example, after searching for Monster Infrequents and faction items that can be equipped at level 73 and that improve Cadence and physical damage, we can identify the following options:
- Malmouth Vanguard Pauldrons
- Voldrak’s Crusher
- A two-handed weapon with the Relentless prefix, which provides additional bonuses to Cadence and physical damage
Looking at the entry for the Malmouth Vanguard Pauldrons tells us that they can be purchased after reaching Respected reputation with the Malmouth Resistance.
In other words, you do not need to pray for a lucky random drop.
Simply keep hunting the Aetherial Vanguard—the sworn enemies of the Malmouth Resistance—and you will eventually be able to purchase the item with absolute certainty.
The other item, Voldrak’s Crusher, is apparently dropped by an enemy named Voldrak, the Destroyer.
Clicking the enemy’s name allows you to view its stats and the skills it uses, making it possible to prepare specifically for the fight.
Click Map, and Grim Tools will even show you the enemy’s location on a map.
That makes targeted farming far more efficient.
Do not worry if an enemy does not have a visible Map option.
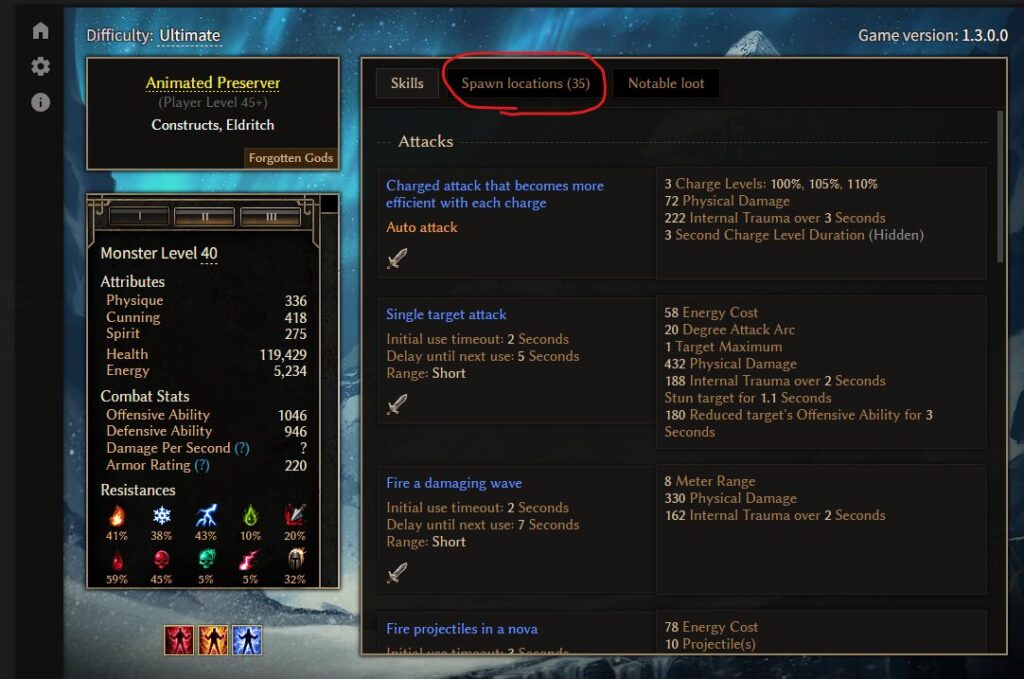
Click the enemy’s name, then open the Spawn Locations tab in the window on the right.
This will show you where the enemy can appear and how many of them can spawn in each location.
From there, you can search for that area using the World Map in Grim Tools.
Click the triangular icon in the top-left corner of the screen to open the sidebar.
Select Cairn at the top of the sidebar, and a search box will appear directly underneath it.
Search for the location there, and you will be able to see exactly where the enemy can be found.
After that, there is only one thing left to do.
Hunt them down.
Again.
And again.
And again.
Conclusion: Enjoy a Better Gear-Farming Life with the Item Database!!
And there you have it—a practical guide to using the Item Database in Grim Tools.
I hope this helps make your future gear-farming sessions faster, easier, and considerably less confusing.
Until next time, have a fantastic gaming life!!
Thank you very much for reading all the way to the end!!!